again,
I’m sorry for the one day late post but today we’re doing a lot of things and we will learn much new stuff, so I hope it was well worth the wait. Last time we made a real filter but realized that it was slow, dreadfully slow.Today we will use a completely different technique to achieve the same results as last episode, maybe even better with much shorter render time.
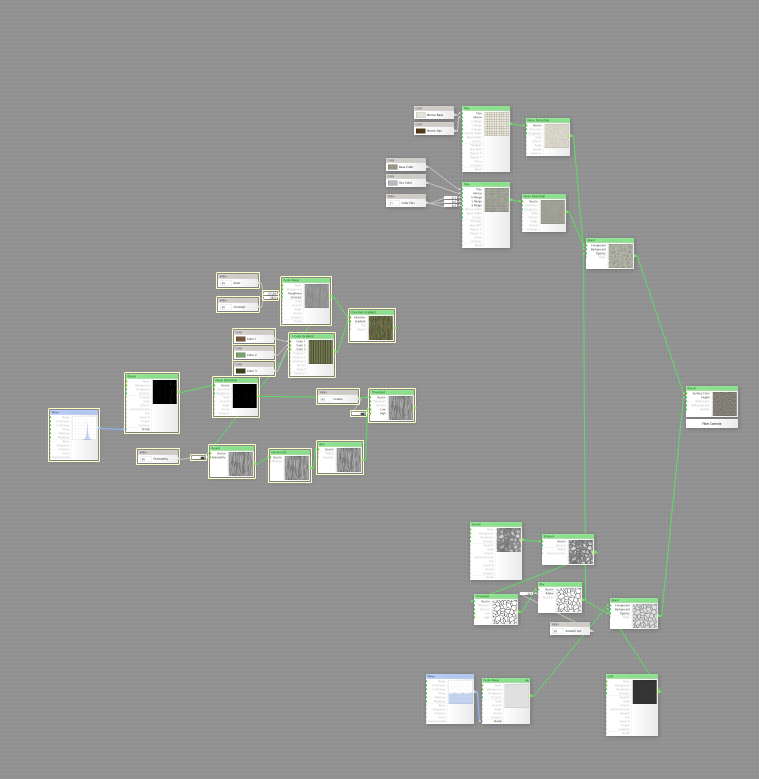
We begin with setting up the basic structure for the stone floor tiles height map as we did in the last episode, and for our test filter.
Then we add the stone surface from our first tutorial stone filter.
Now we add the stone height map from the second stone filter we made, remember this one? We tweak it so the height map is rather light (high altitude as we want a deep mortar on this).
As you can see, mix-and-match different methods is one of the great ways of making filters. We add our mortars also, and then we render one just to be sure.
We add the wood from our first wood tutorial, and this is what we have when we just pulled things in.
Click for a larger picture
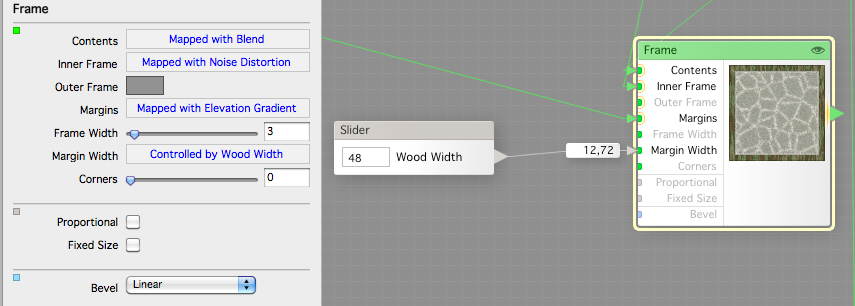
So, what is this, looks the same as last episode still. We now add a Frame component, and feed the wood we have to the Margins, the Content to our stone tiles and inner frame to our mortar. We add a slider for the Margin Width, so we can control the width of the wood.
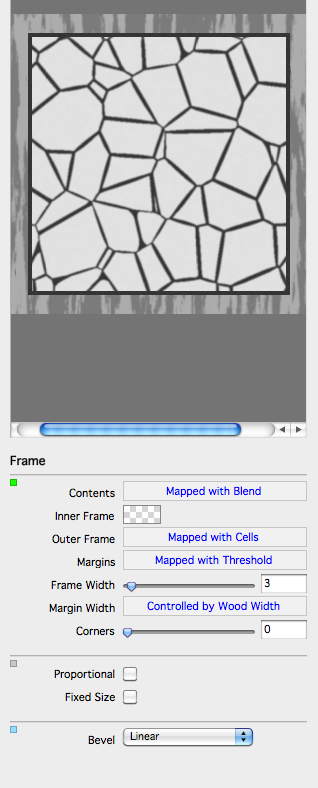
Now we make a copy of that Frame component and set that up for the height map, this way.
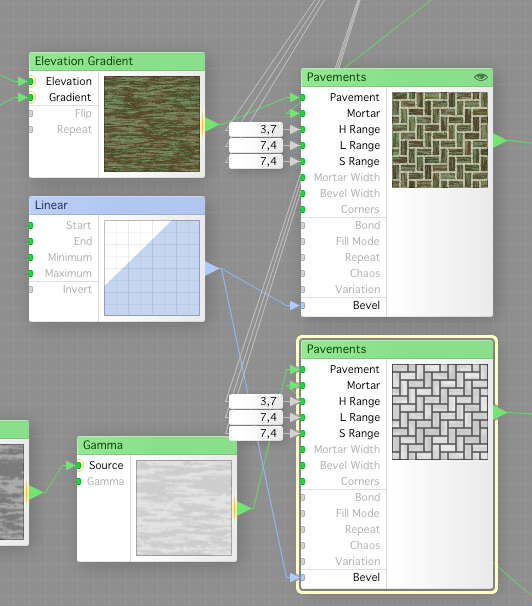
As you saw in the previous picture, the wood height was to dark, so we put a Gamma component between and lighten that up a little.
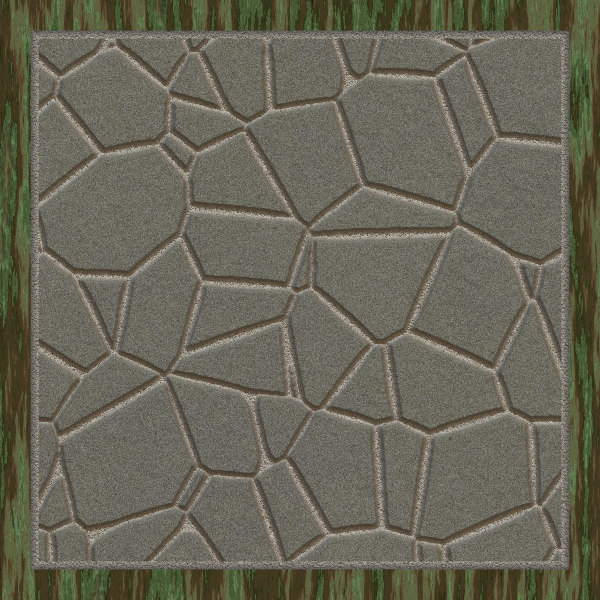
Now we have what we did yesterday, it looks almost the same.
Now, how about a wooden tiled floor as well, not a gigantic wooden board? We need to see to that the wood pattern is not vertical but horizontal before we can try this.
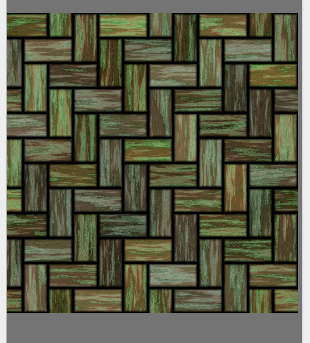
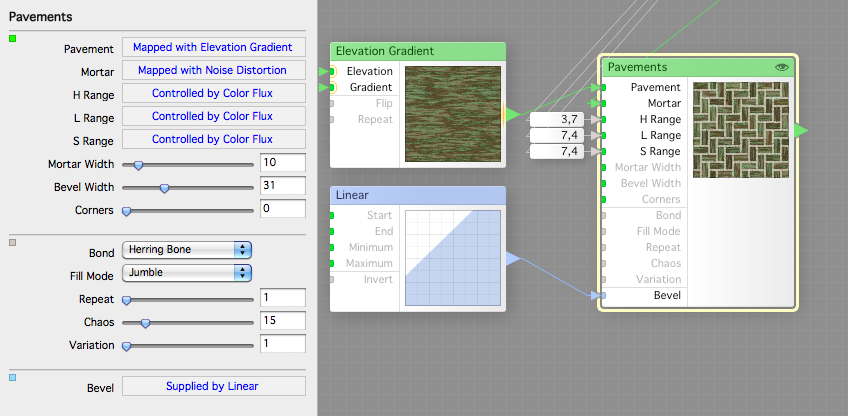
A sample of the wood through a fish bone weave pavement. We add a Pavement component and set it up like this.
And here it’s setup for the wood.
But how do it compare in render time?
I’ve done this on my laptop, only having a dual core i7 with hyper threading, which is a bad render machine (Xeons are much better as they can crunch full whack on all 4 threads, not as i7, that is faster when running only one thread per core.
The filter from last episode rendered in 2 minutes and 58 seconds for a 600×600 image.
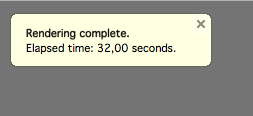
This filter with nicer wood but so far only one stone color renders in 32 seconds, same image size. That’s about six times faster.
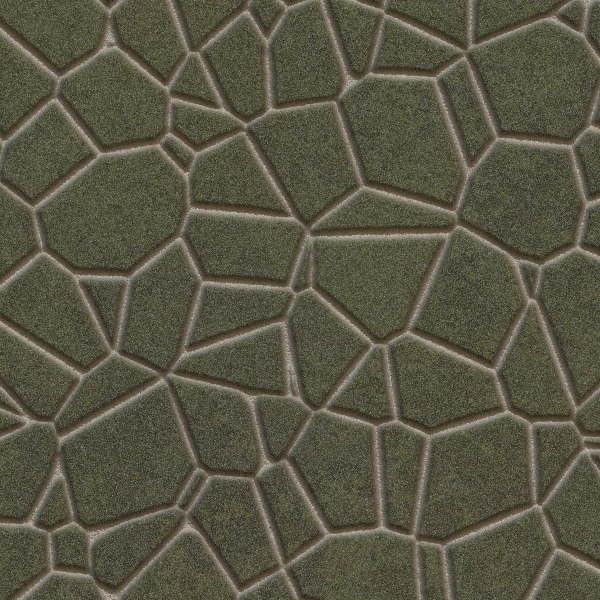
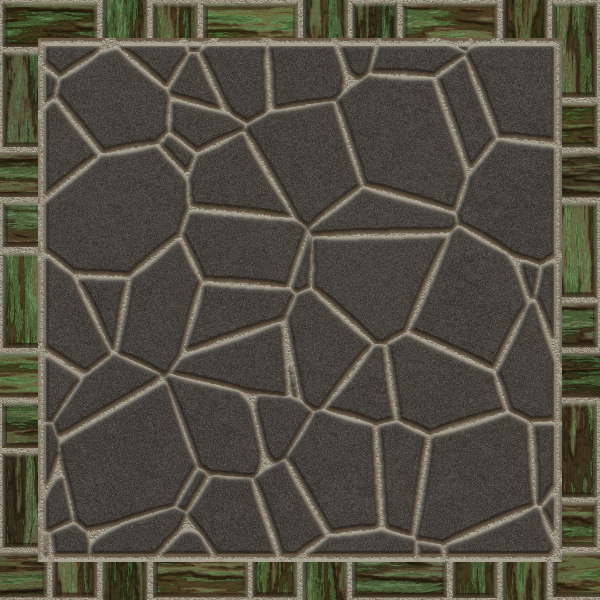
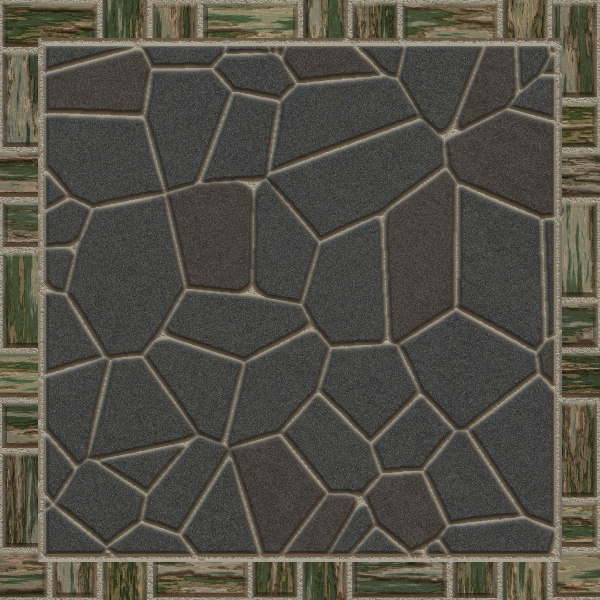
And this is how it looks now.
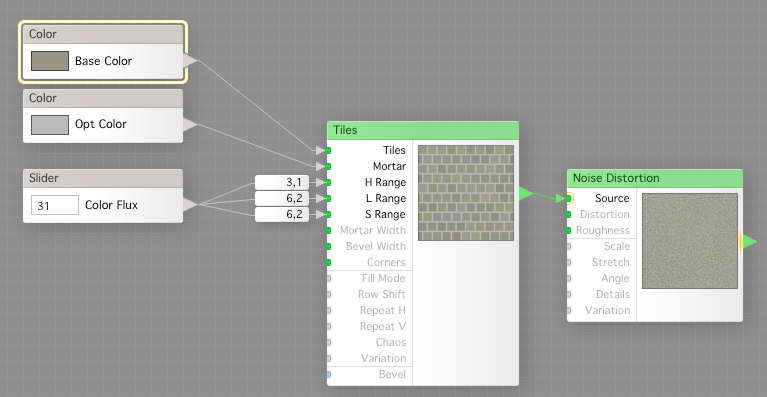
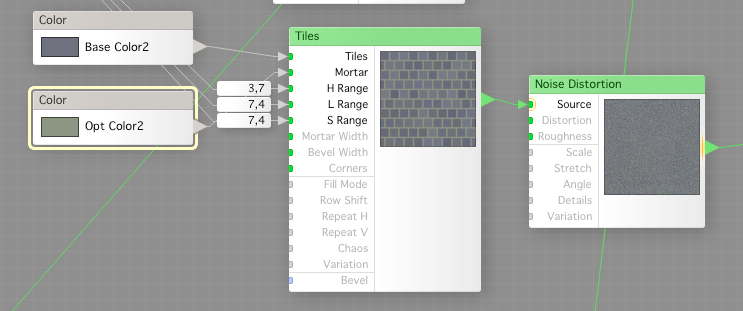
But we’re not done yet, this is just the beginning. Now we make a copy of the stone surface part, rename the controls and change the default colors.
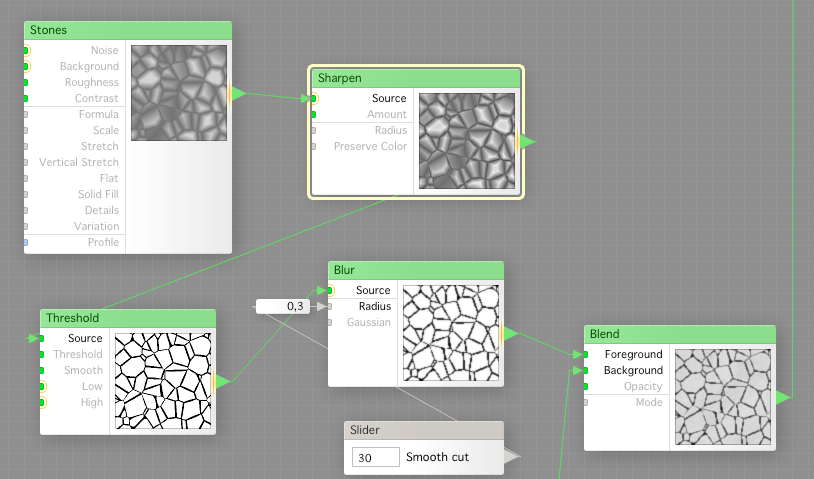
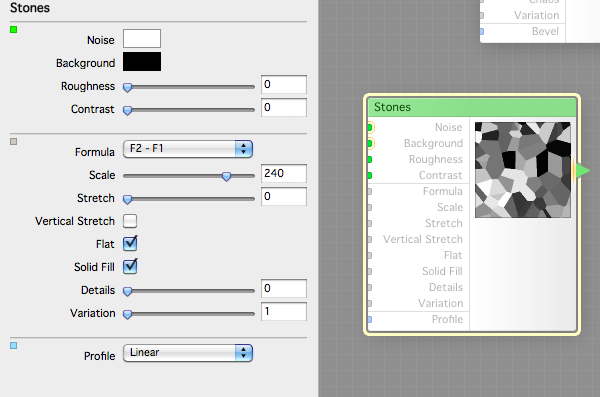
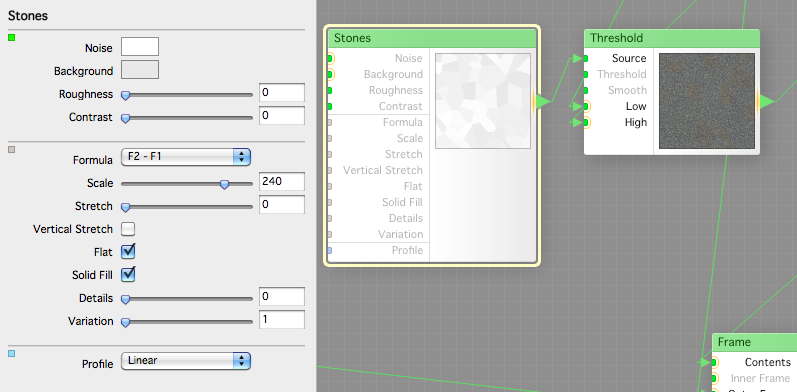
Then we setup another Stones as the one used for the mortar, but like this (we did this in the tutorial 2 remember).
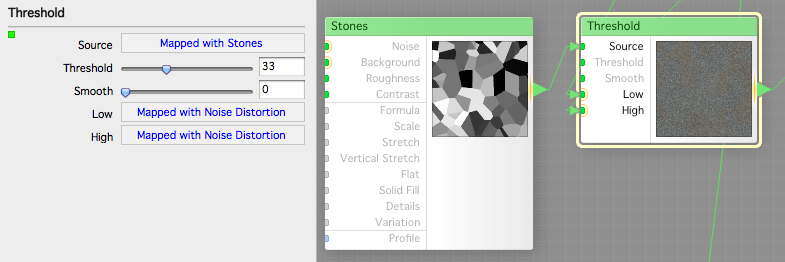
Now we use a Threshold to put the two different stone surfaces on different stones.
As you can see, I lightened up the stones after I tested some different variations as this made a better random distribution.
Now, how will ir look with two colors for the stone slabs, set to almost the same color.
And the rendering time was not that bad either.
I think I have to call it a day here, but I’ve still got so many things to do with this filter before we can say it is in releasable state. In the next episode we will do even more than today, maybe I’ll have to cut that into two episodes.
And no filter today as it’s still not complete and too complicated to explain.
Comments
Leave a Reply
 Roleplaying

