I know you think we’re done with the filter, but there are always some tweaking to do. When you make a filter yo want people to use it after you publish it, and a one-trick-pony will not get that much use unless it is a super duper filter. The more settings and variations you have, the more usage will the filter get and the more likely you are to get a HU (High Usage Point), for which you can trade yourself additional FilterForge licenses to give to friends and family.
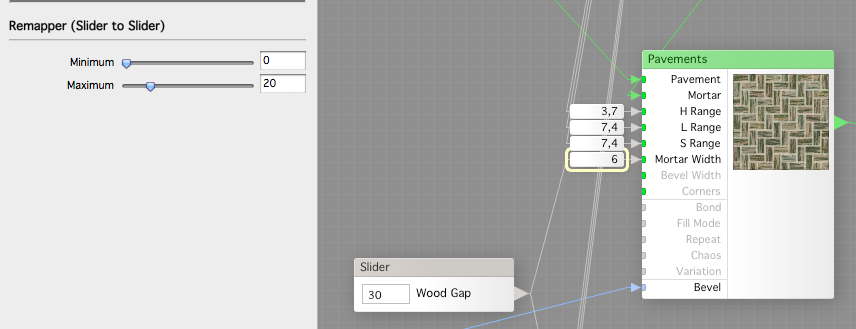
So, we’re gonna add some options to the nice wood we added last time. First we add a slider to control the Mortar Width of the Pavements conponent. We use the remapper to limit the width to reasonable boundaries.
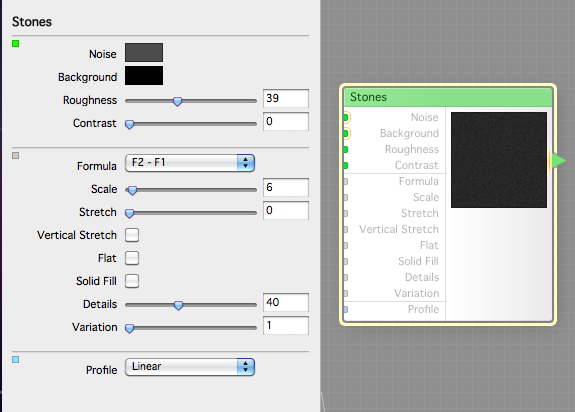
But if we don’t want mortar as mortar in the woods, what about something else? We create a Stones like this to be an alternative height map for out alternative gap filler, not mortar.
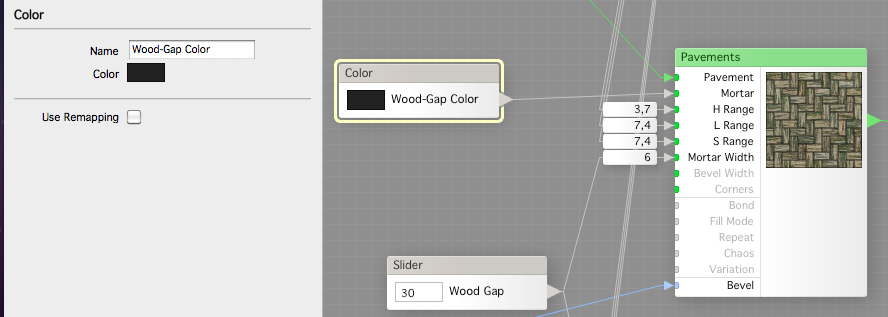
Then we just add a Color component to the Mortar input of the Pavements.
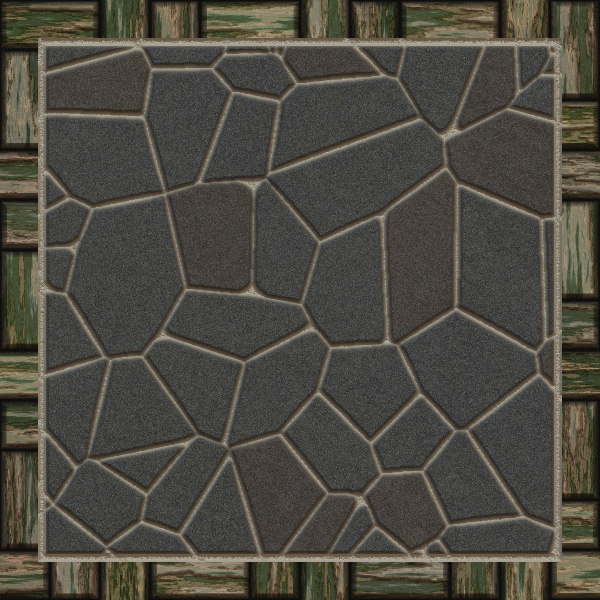
THis is how it will look with just something else as gap filler on the wood, looking good.
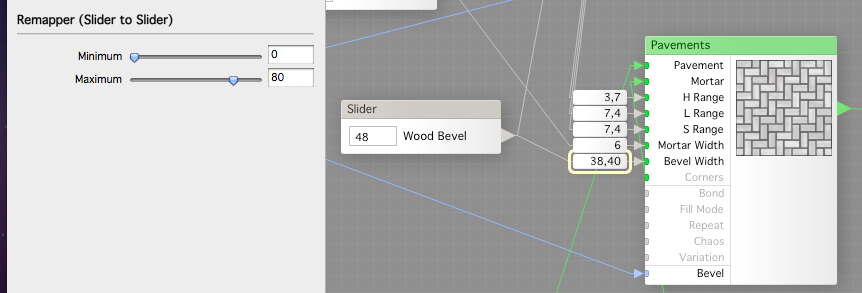
Remember wha I said about one-trick-ponies? We put a Switch, or one for texture and one for height map, and a Checkbox which we name Mortar in wood.Now we let the user choose between mortar or our optional filler. Then we need to make the bevel width selectable on the wood, so we add a Slider for that and hook it to the Bevel Width input on both the texture and heigh tmap Pavements. We set the remapper to sane values.
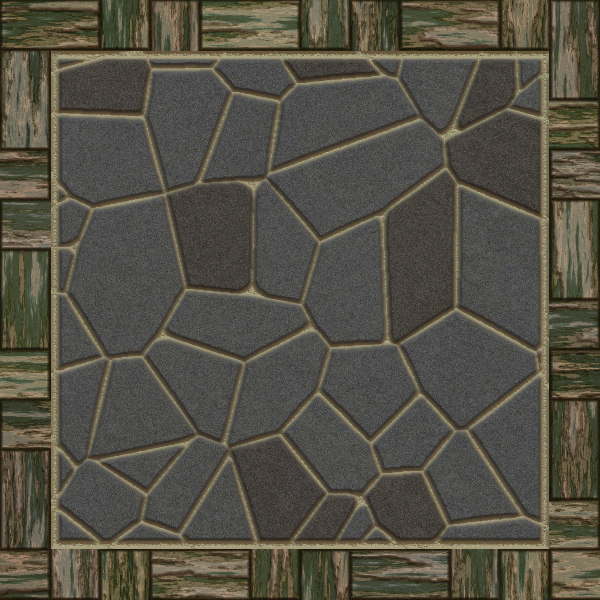
Now, what would it look like with a different bevel width and the black gap filler selected?
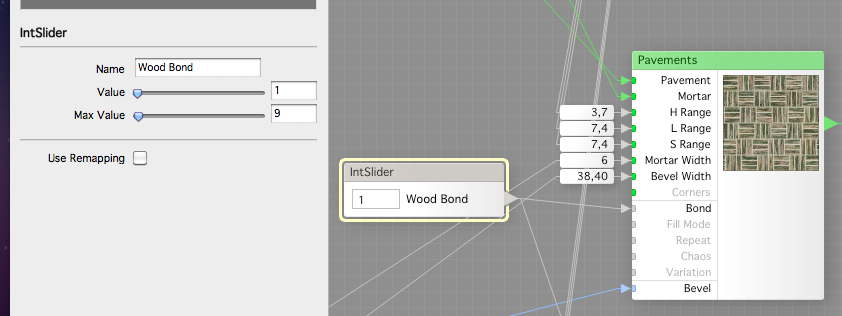
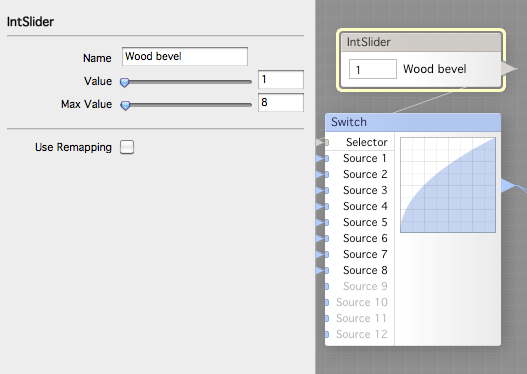
I think i’s time to enable the user to change the wood pattern, the bond, so we hook an IntSlider to it and set limits between 1 and 9 as there are nine different bonds.
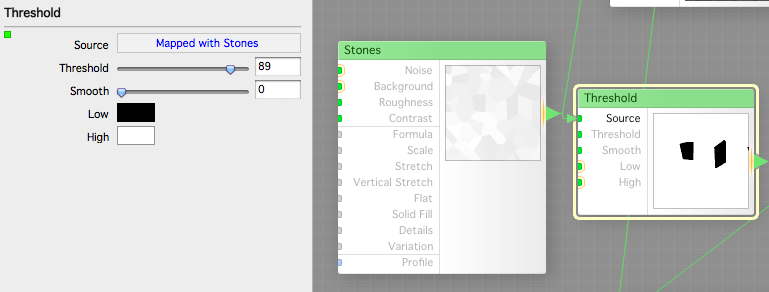
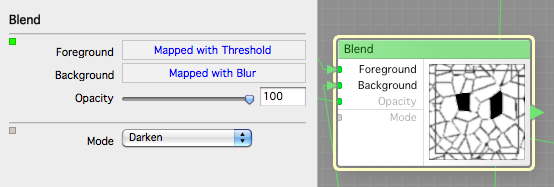
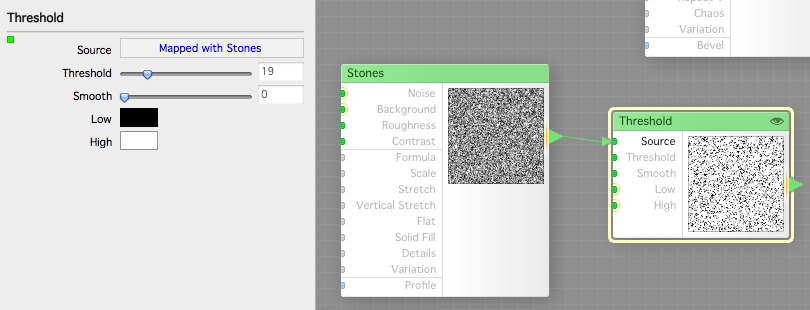
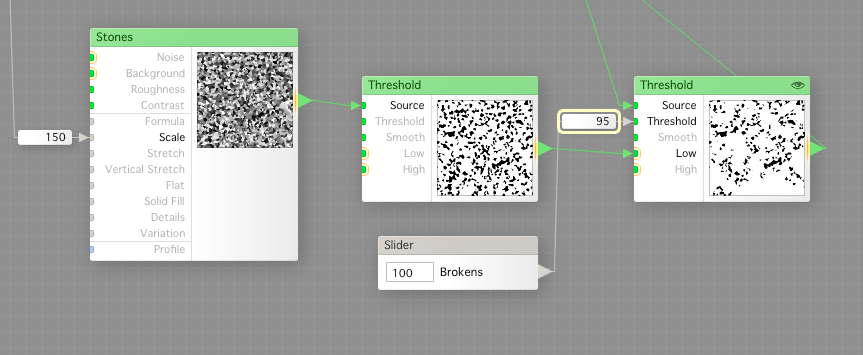
Now I got another idea, what about having some tiles that are missing? We add another Threshold component to the Stones we use to pick out the different colors for the stones.
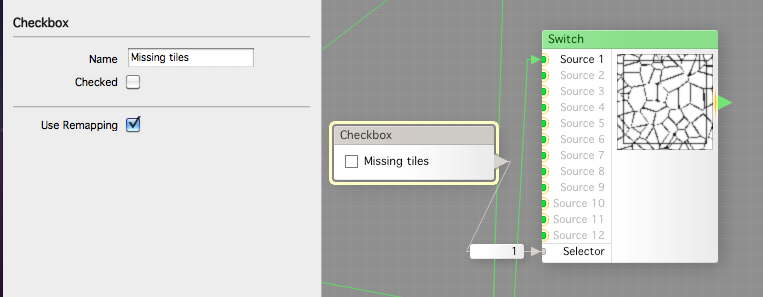
Then we add another Switch where we generate the mortar setup and connect a Checkbox to it that we call it missing tiles.
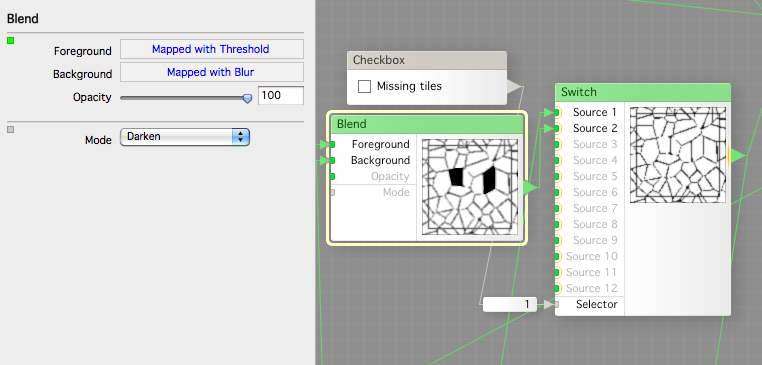
Now we Blend using darken the missing tiles that should be filled with mortar upon the mortar pattern we have.
We can now hook this to se second input of the Switch.
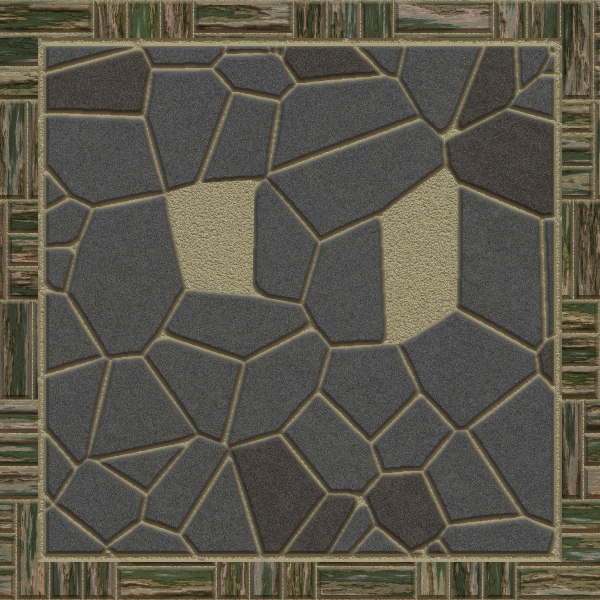
So, how will this look? I think the basic idea is great, but it might need something more…
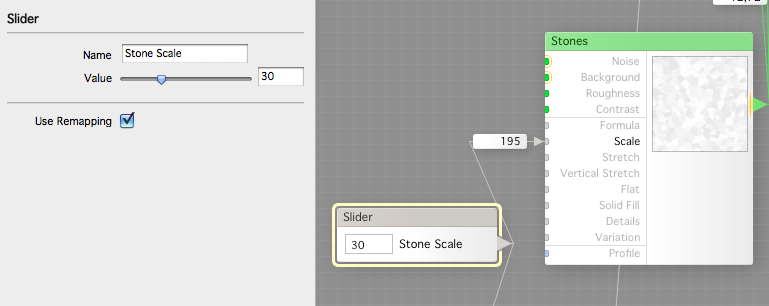
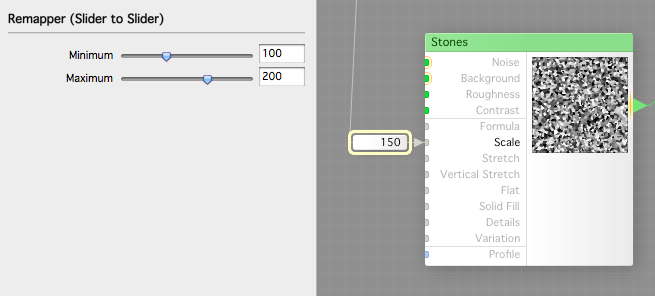
To add something more, we first add a Slider and call it Stone Scale, that wee hook up to both the Stones we have for tile generation to the Scale input. Now we can set different sizes for the stone, remapping to 150 – 300 or something, to avoid pebbles.
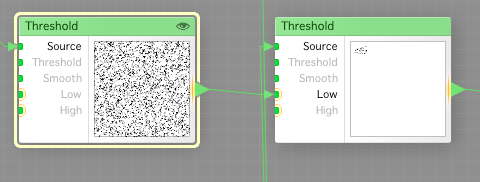
We then add another stone, set small, and Threshold that.
Now we use the result from this as the Low value for your missing tiles. Hopefully we will have broken tiles here.
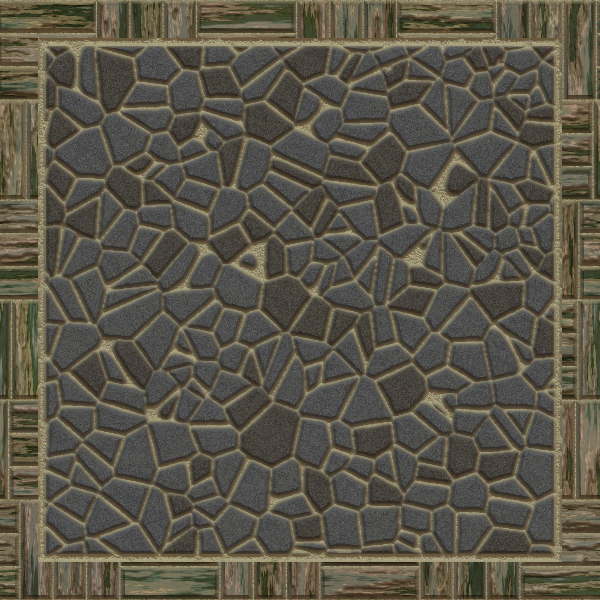
Now the broken ones looks better, so does the smaller stones.
But what more can we fit into one day? Its still renders reasonable fast, compared with the slow one we had in a previous tutorial.
We can add a Slider called Brokens, which we can use to co control how much broken parts we want in the missing spaces, then we can go from missing to many pieces, great way of choice.
To this we connect the Stone size slider but with another remapper range, so we get proportionally scaled broken pieces.
and at last, we create a Switch, and attach a bunch of differently setup curves, so we can choose from a selection of different bevels. Now I think we have made enough choices for one day.
In the next episode (I had to cut this one down into two), we will finish this filter, stay tuned.
Comments
Leave a Reply
 Roleplaying

